Make it Yourself: Glass Sculptures
Category: Make It Yourself
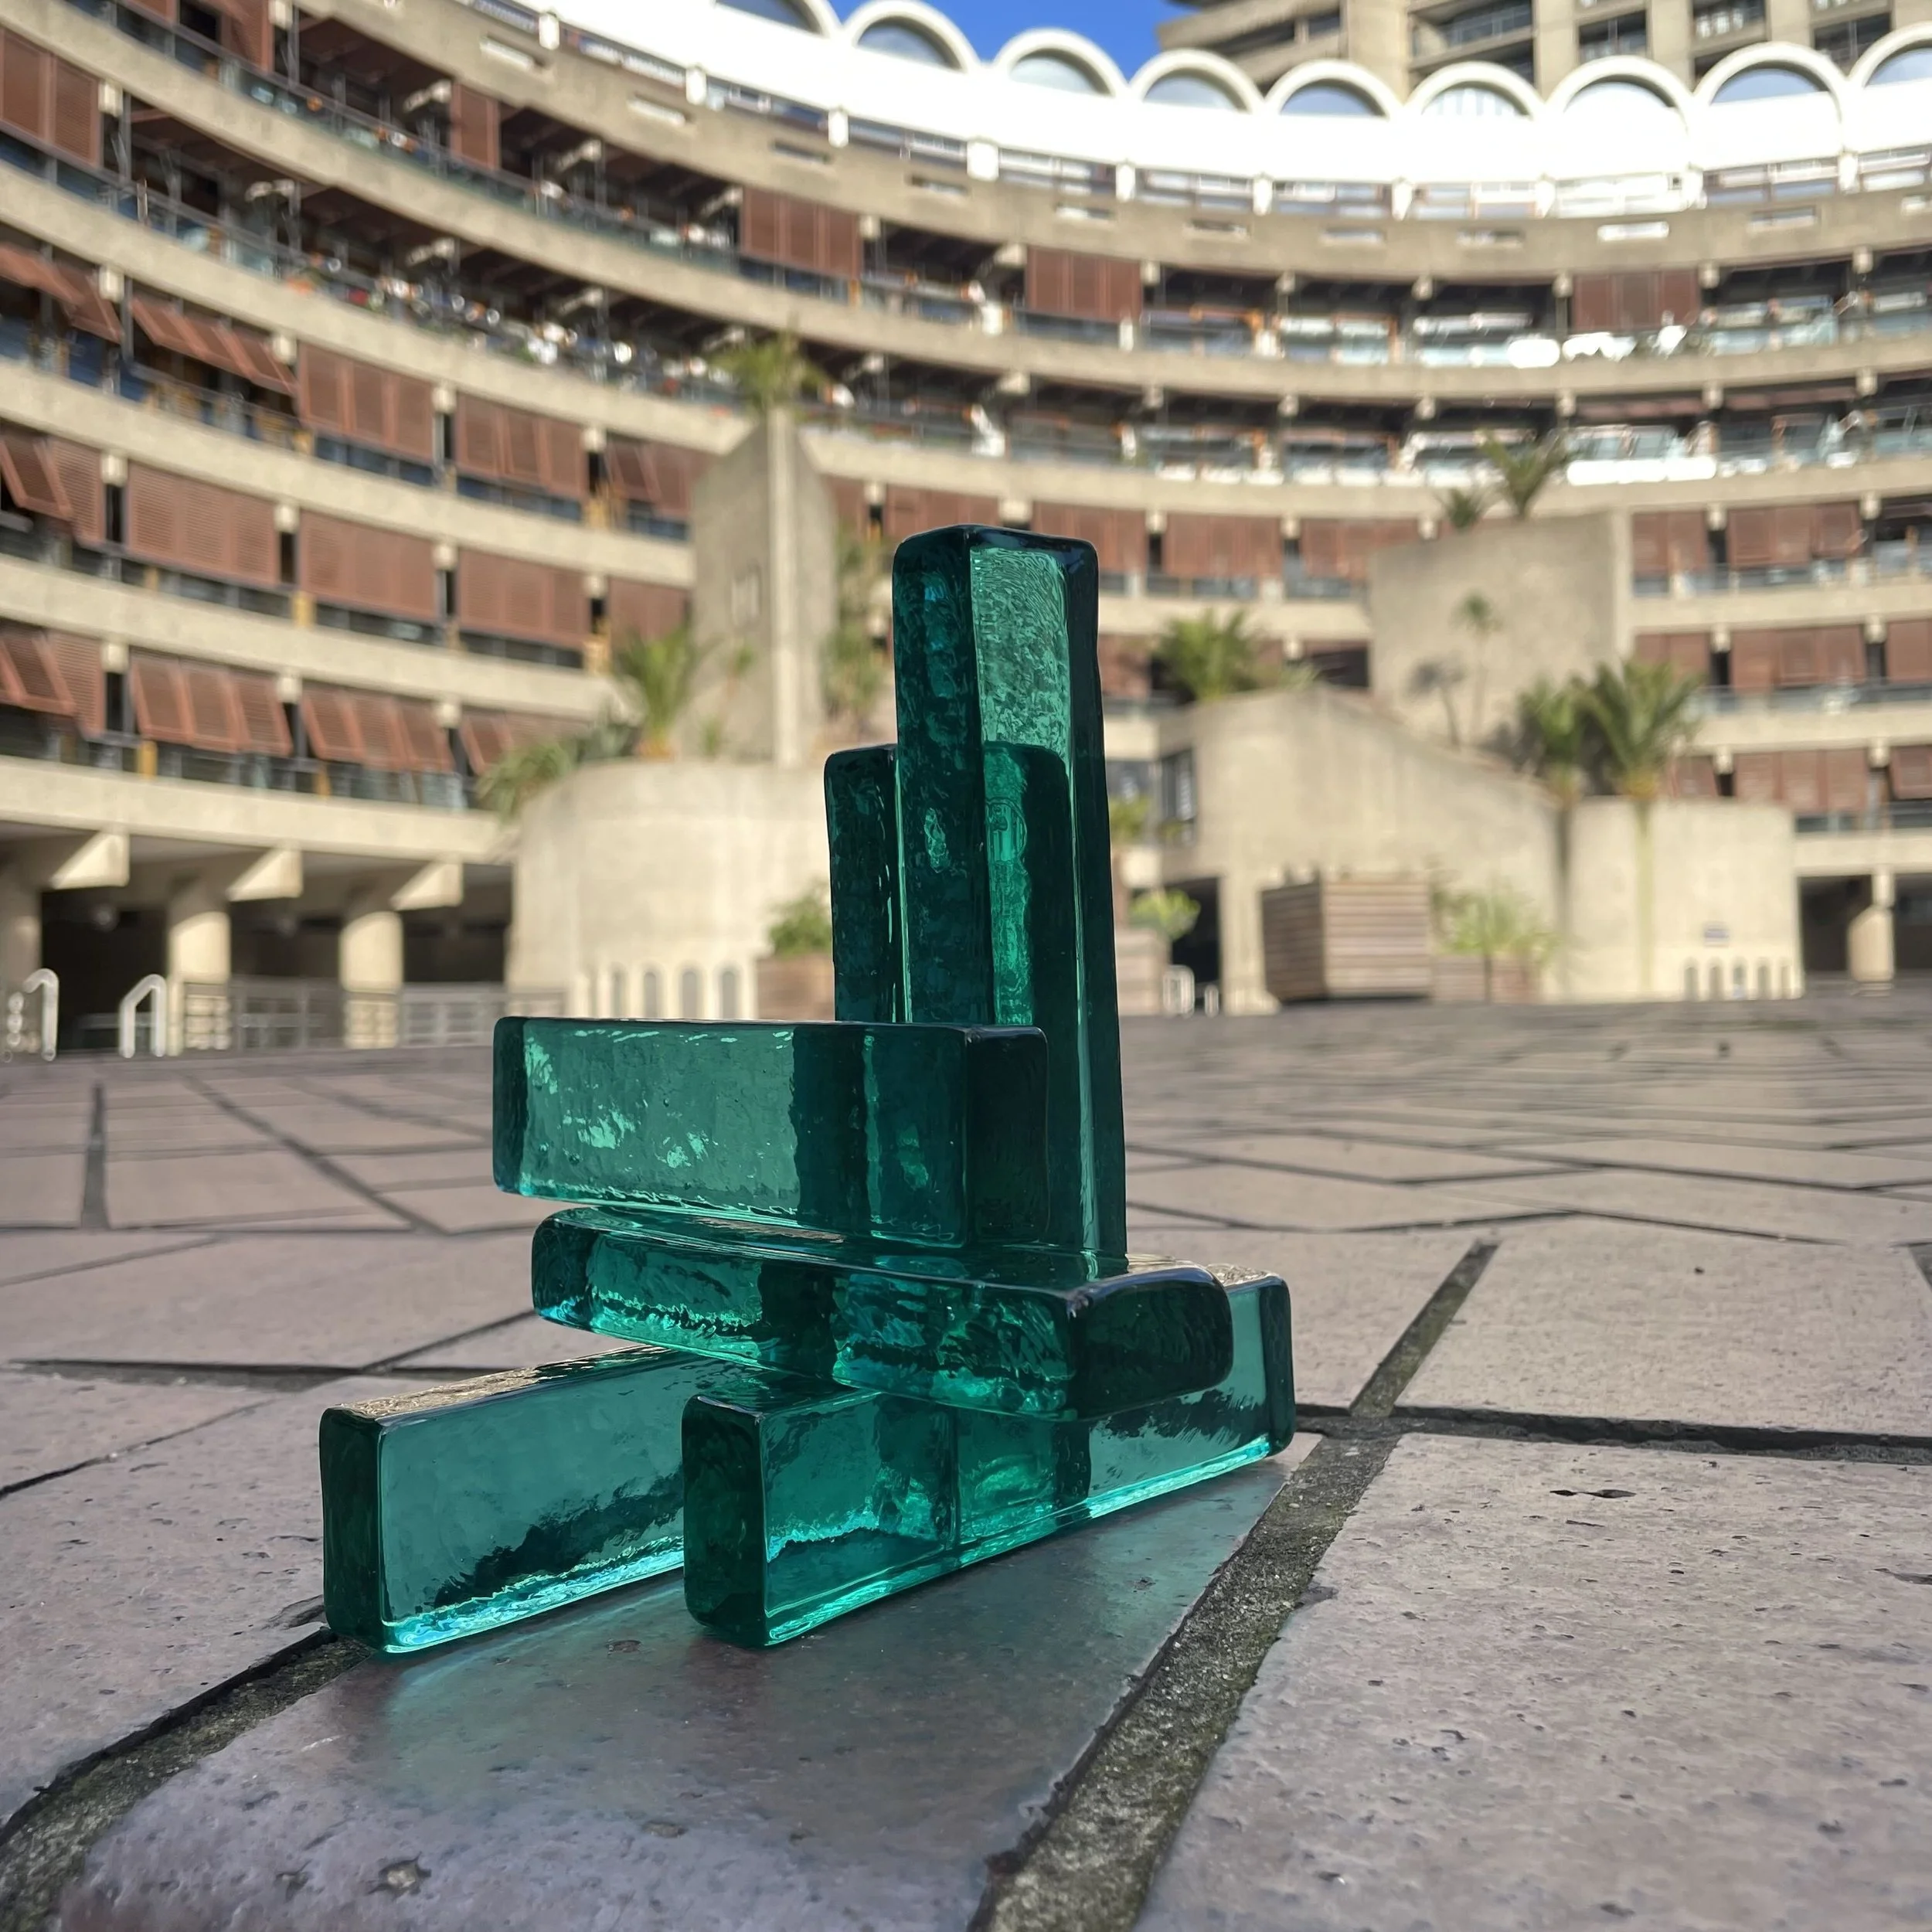
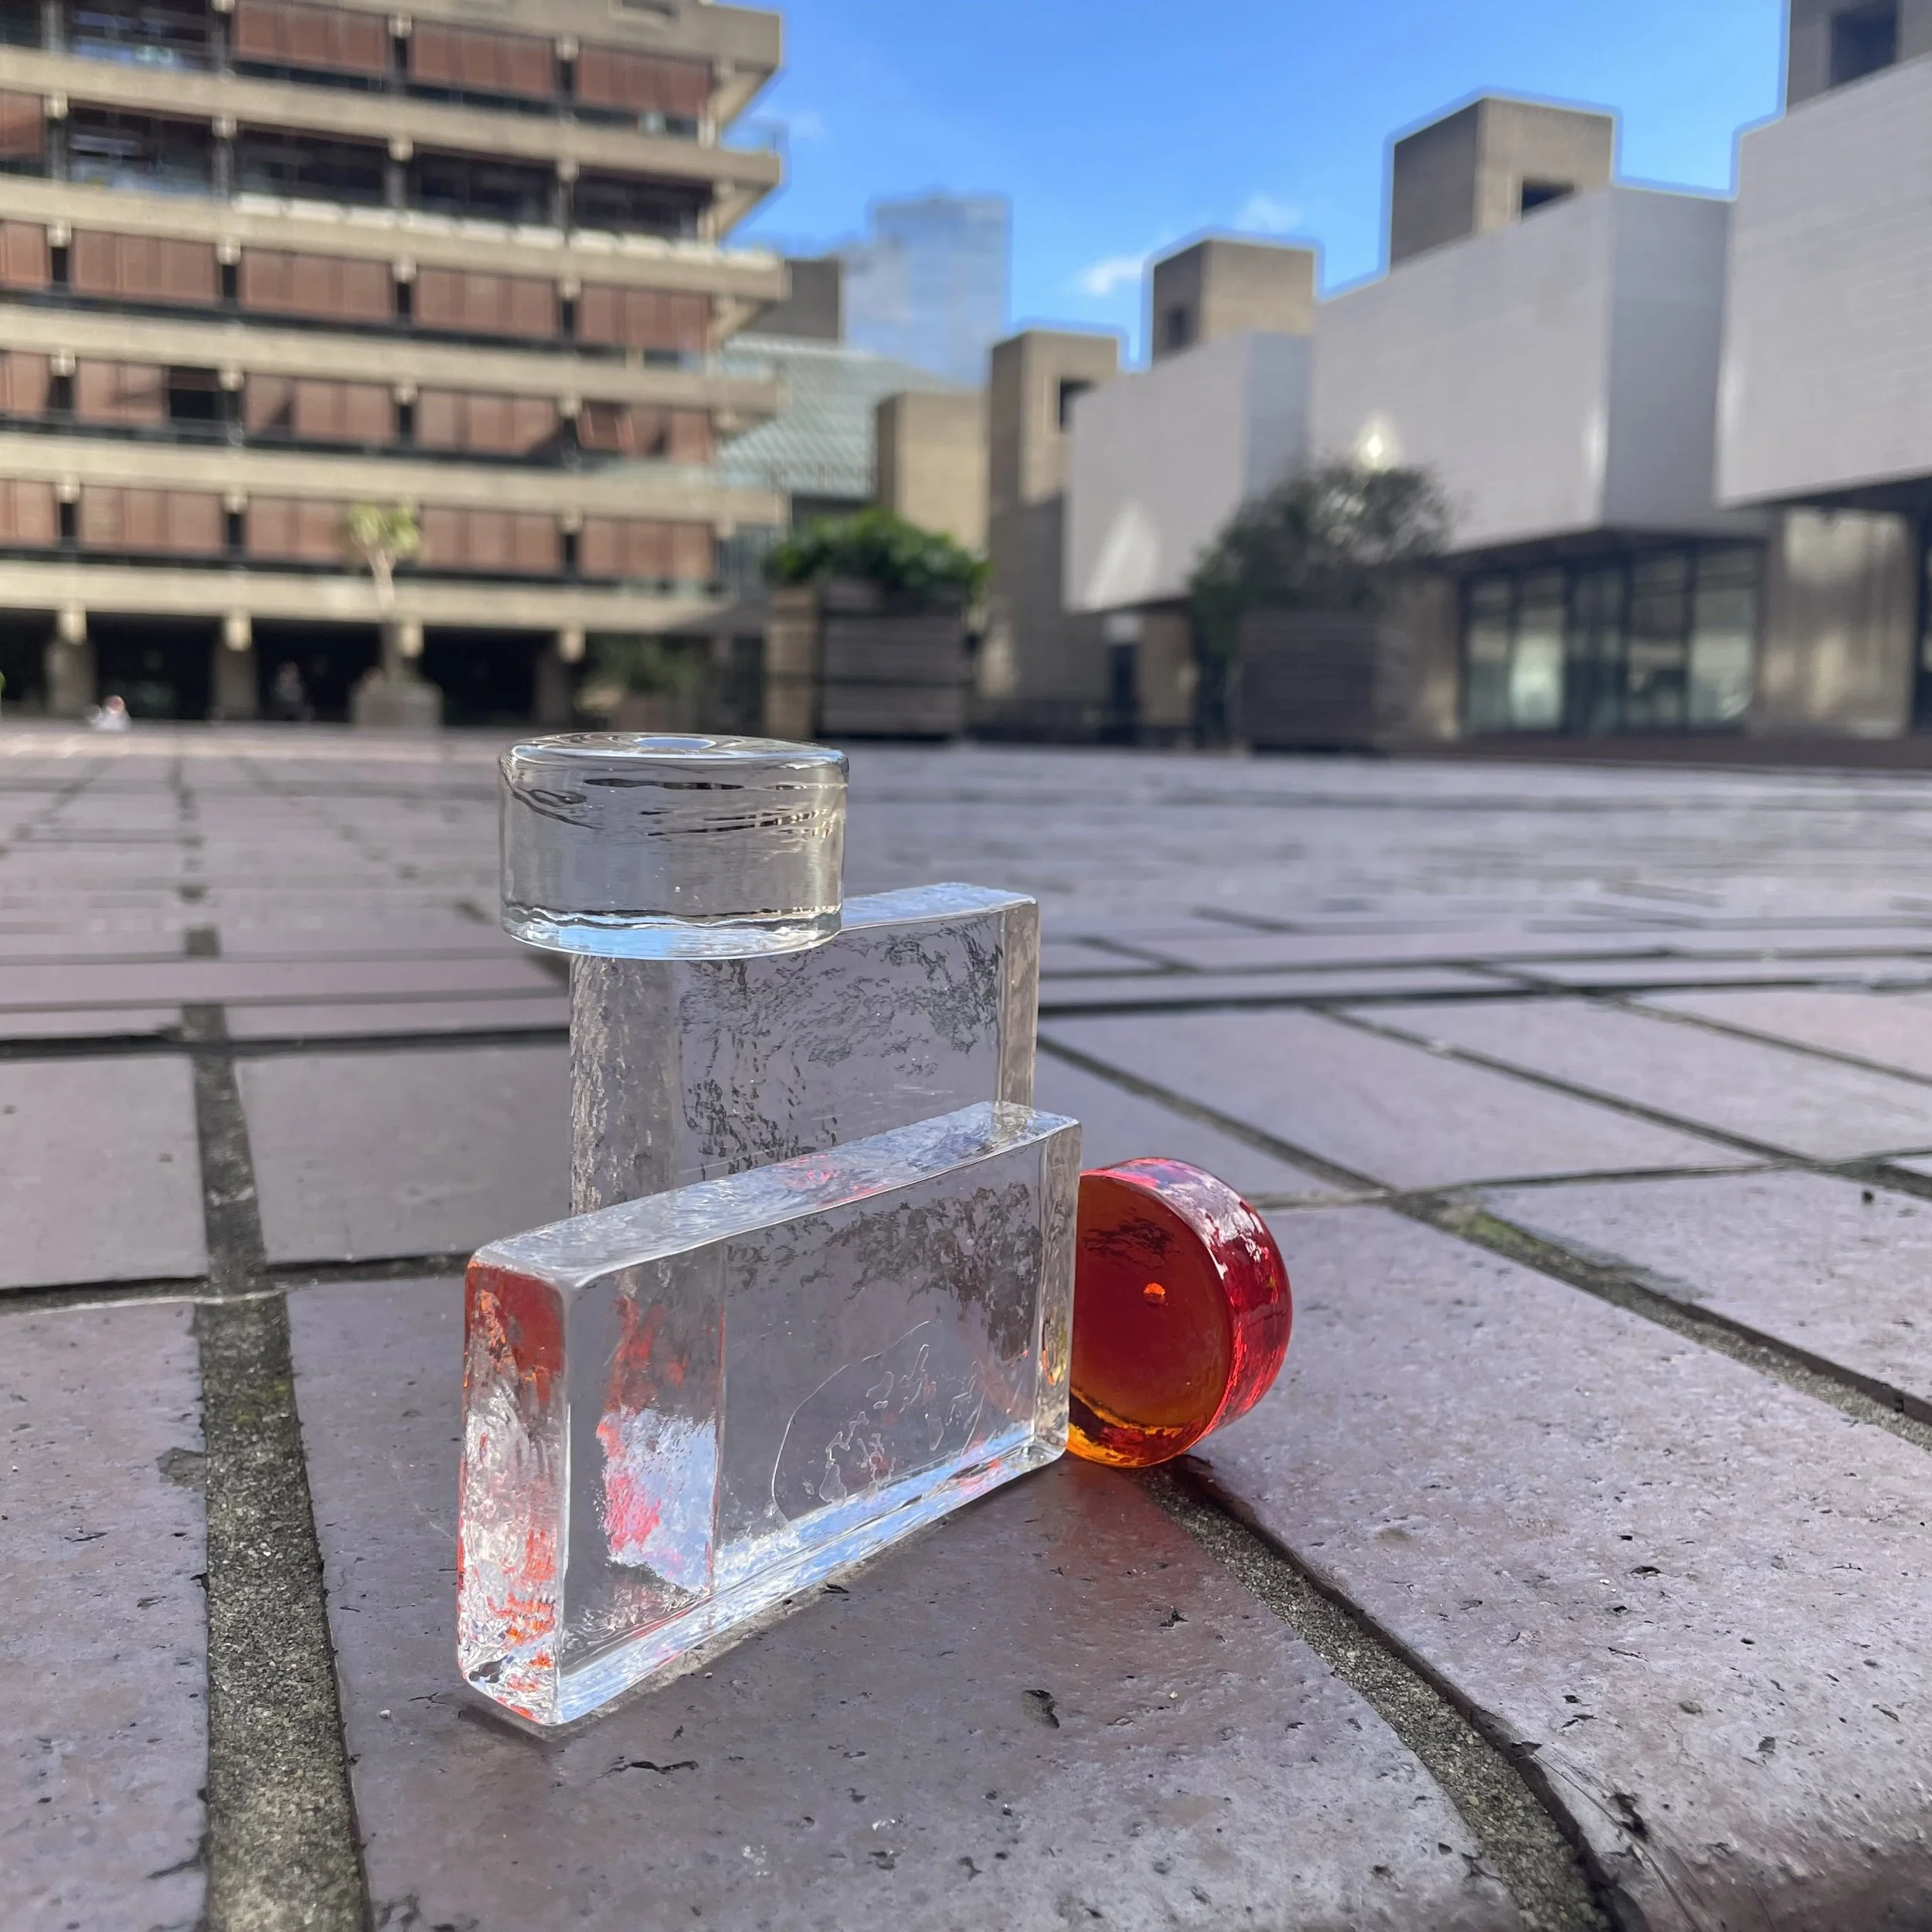
This is all about making sculptures - or assemblages, pleasing little objects, whatever you feel like calling them - from upcycled, dead stock pieces from Lindshammars’ 1960s Arkitektur Glas range.
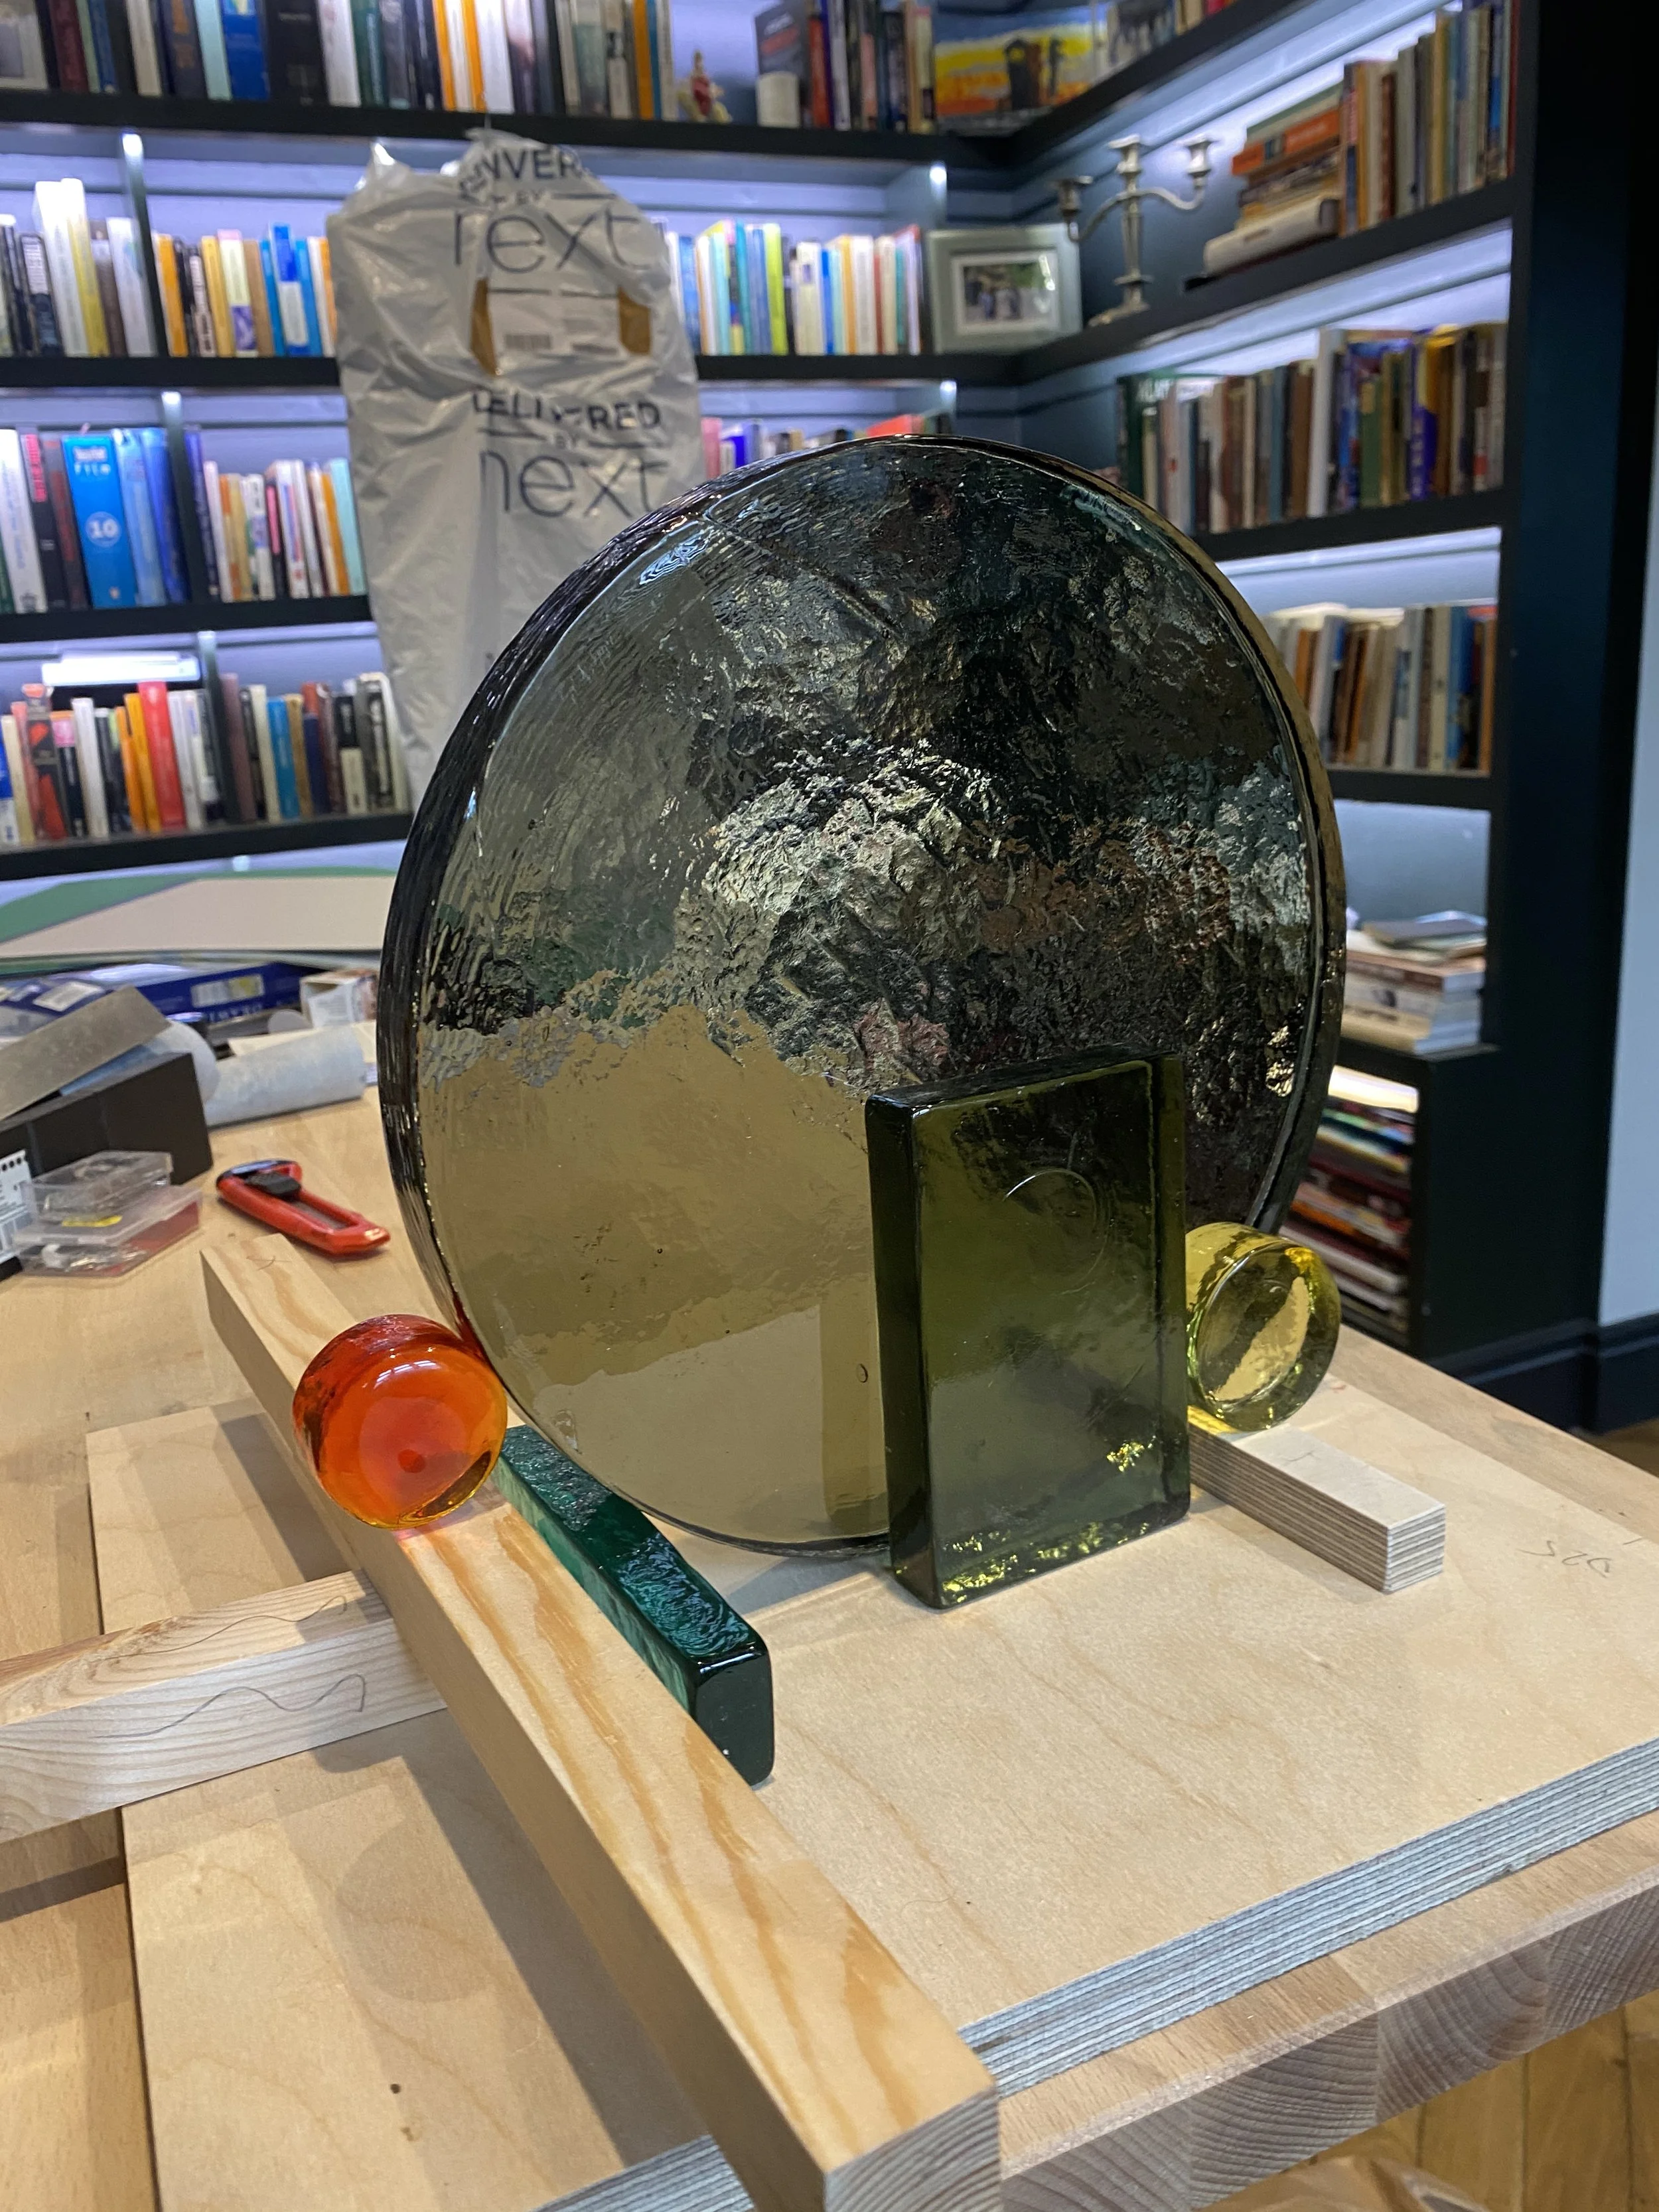
In classic Blue Peter style, here are a couple I made earlier:
Step 1: Find your Arkitektur glas
Ebay, which is where I found mine, is the most obvious source. There’s nothing available at the moment (June 2026) but set up a saved search! Something will come along.
Auctionet, as the name suggests, is an auction site. It’s based in Stockholm. In the past, they’ve listed pieces for sale. You can set up an alert on this site too.
20thcenturyglass.com appears to be a dealer and also an aggregator of other sales sites such as ebay and Etsy. Might be a convenient way to monitor multiple vendors.
Step 2: choose your configuration
OK, so you’ve found your raw material, now the fun starts.
Sometimes I can decide on a design very quickly. Other times I need to sit with a few options for a day or two.
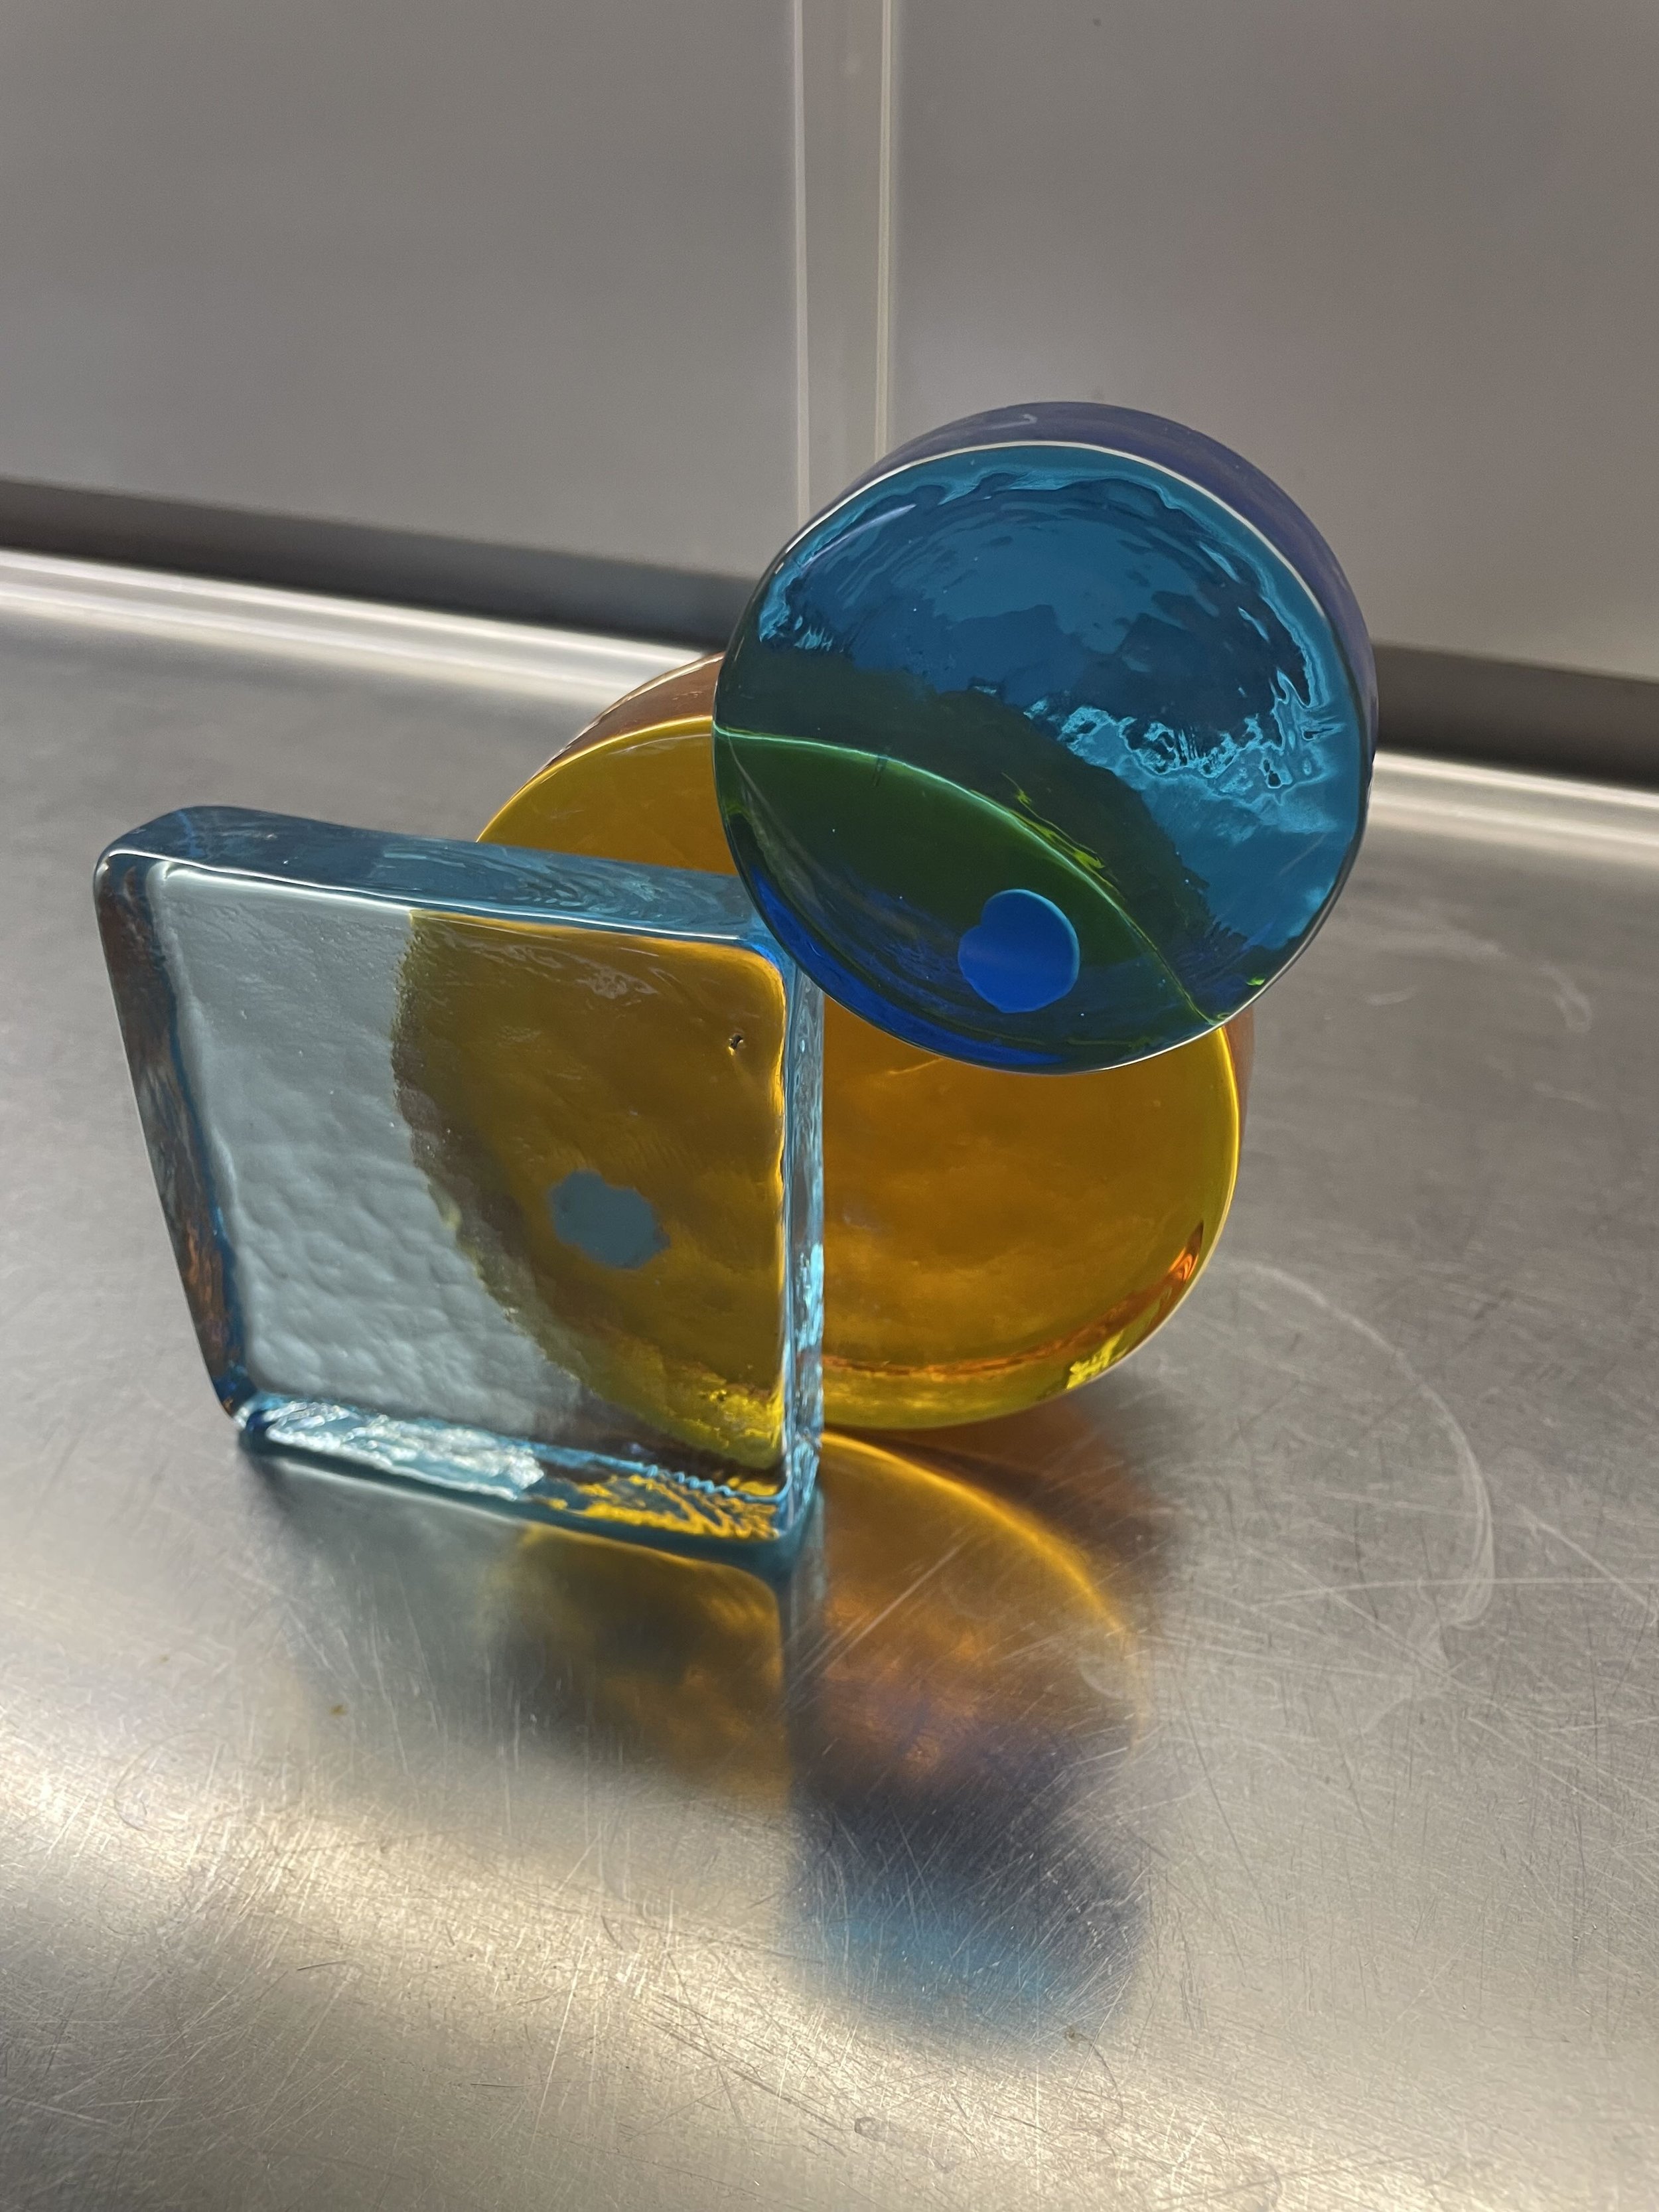
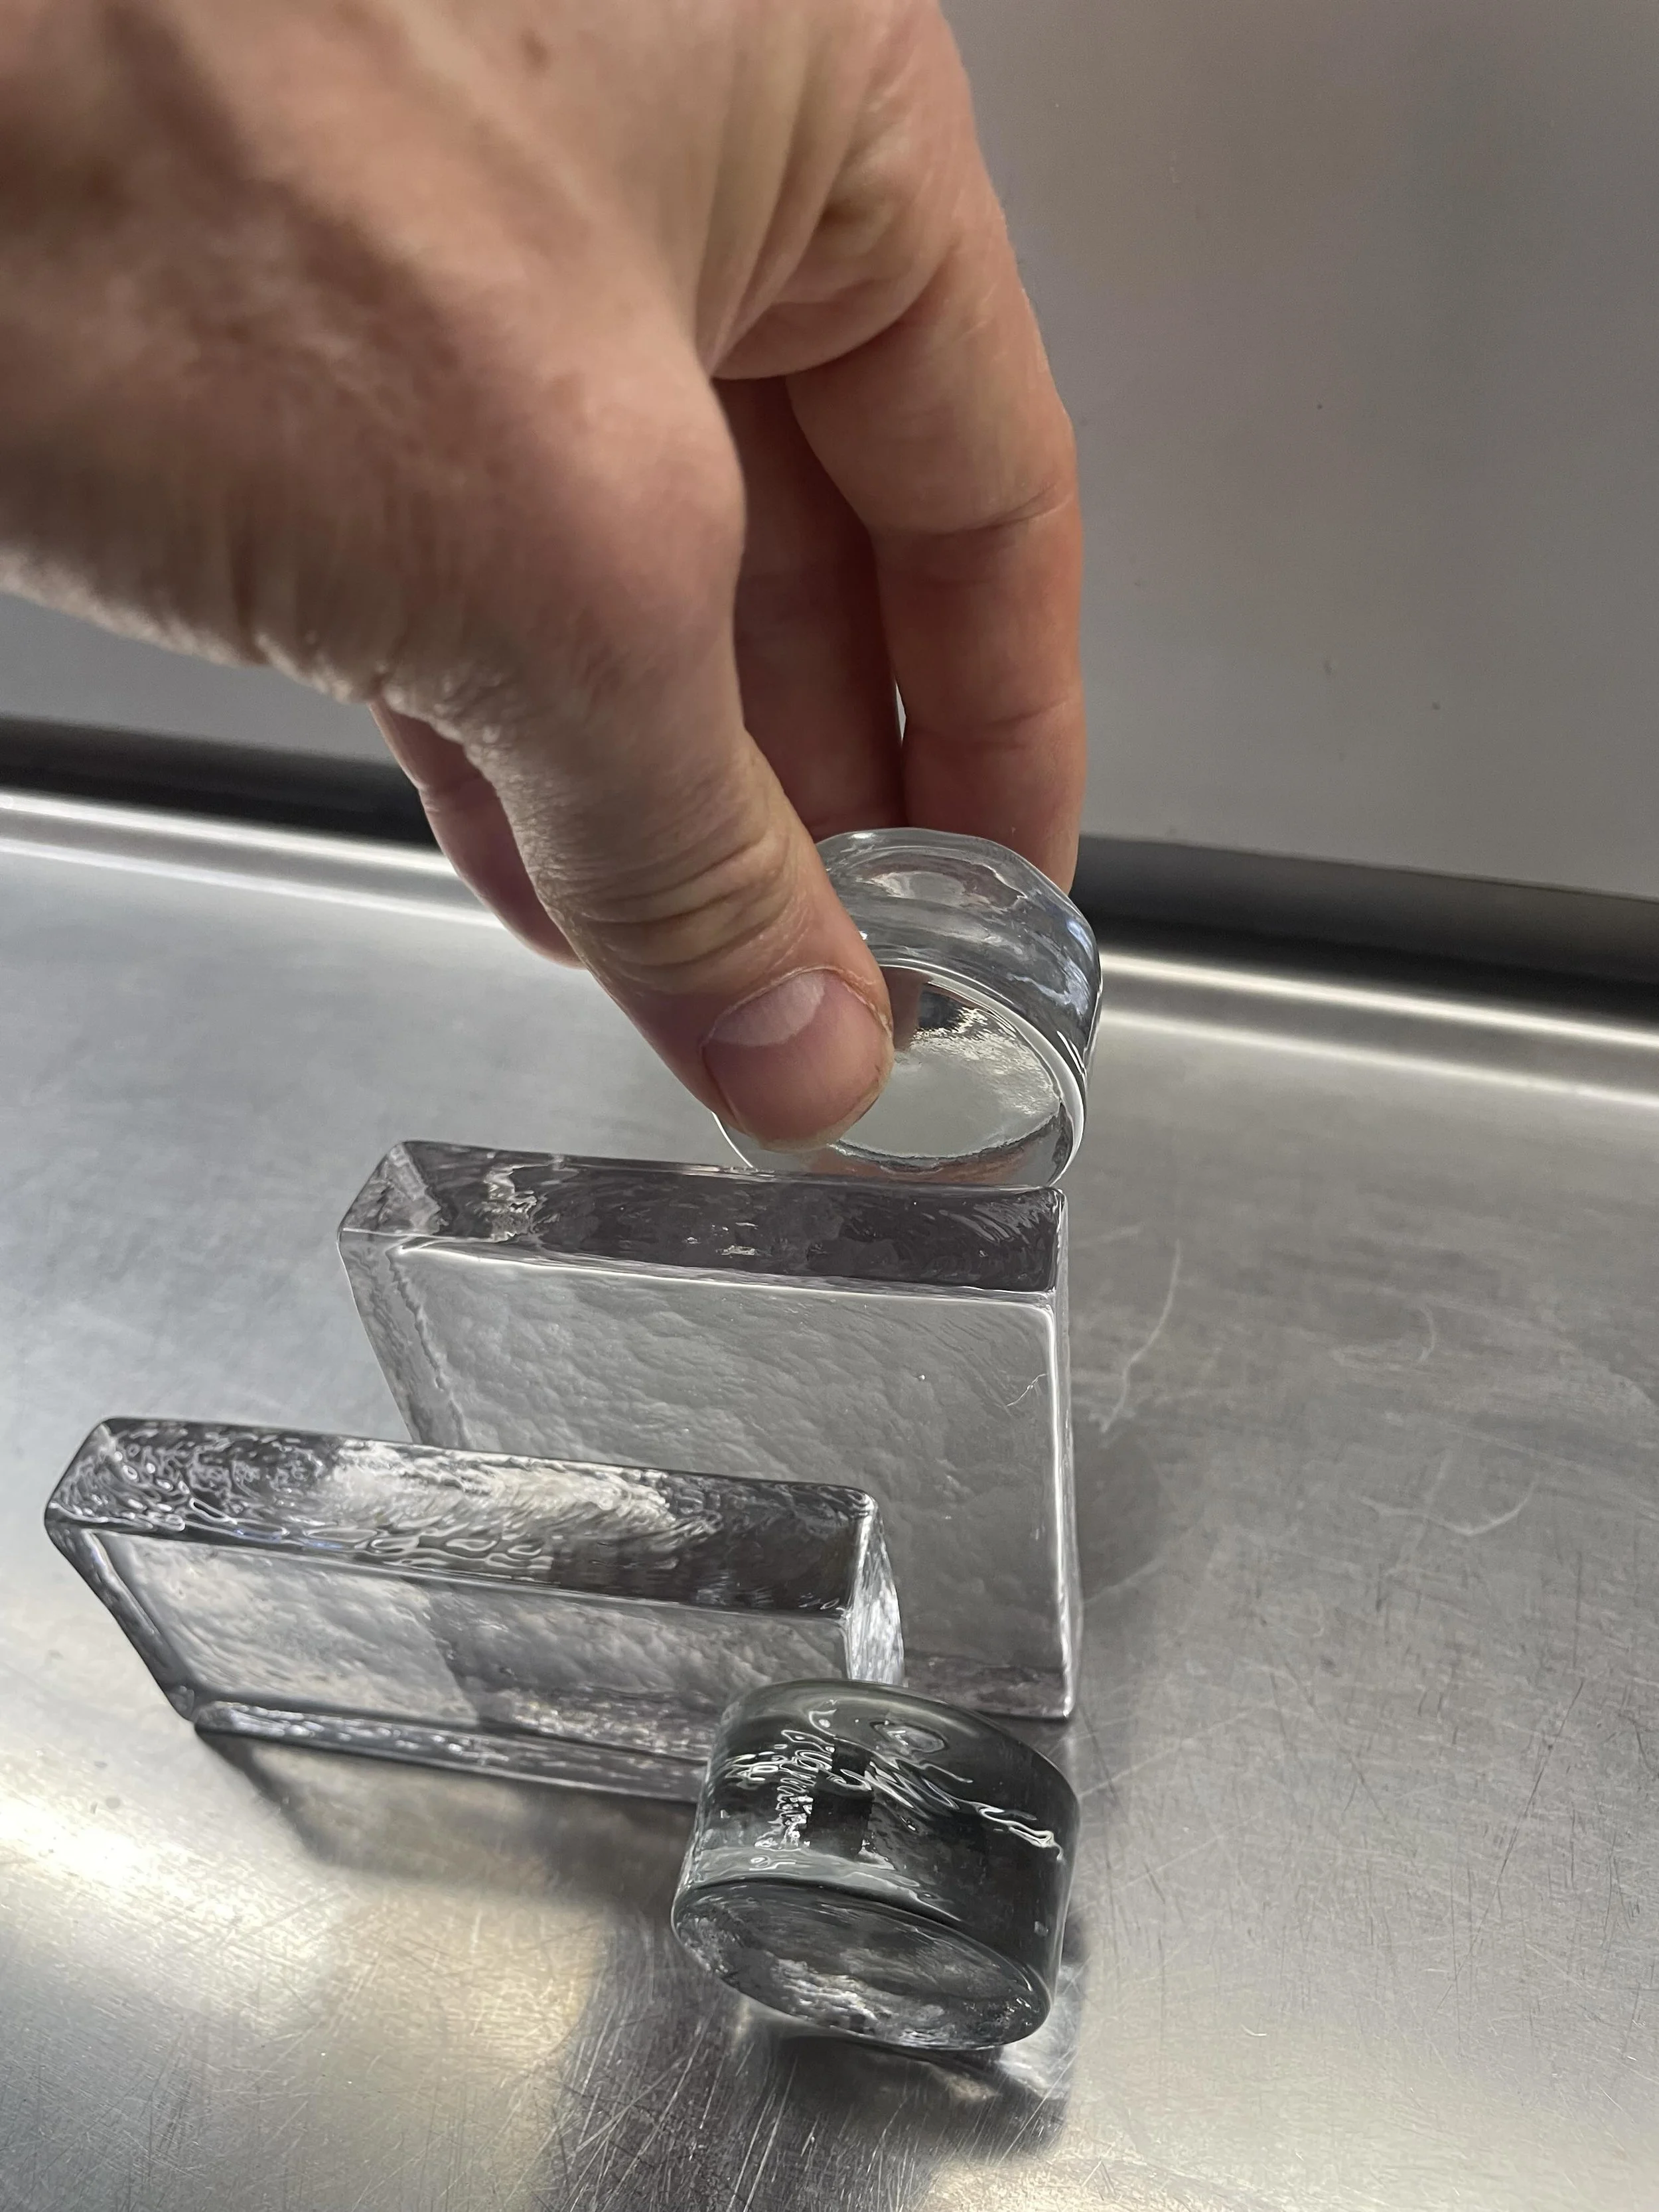
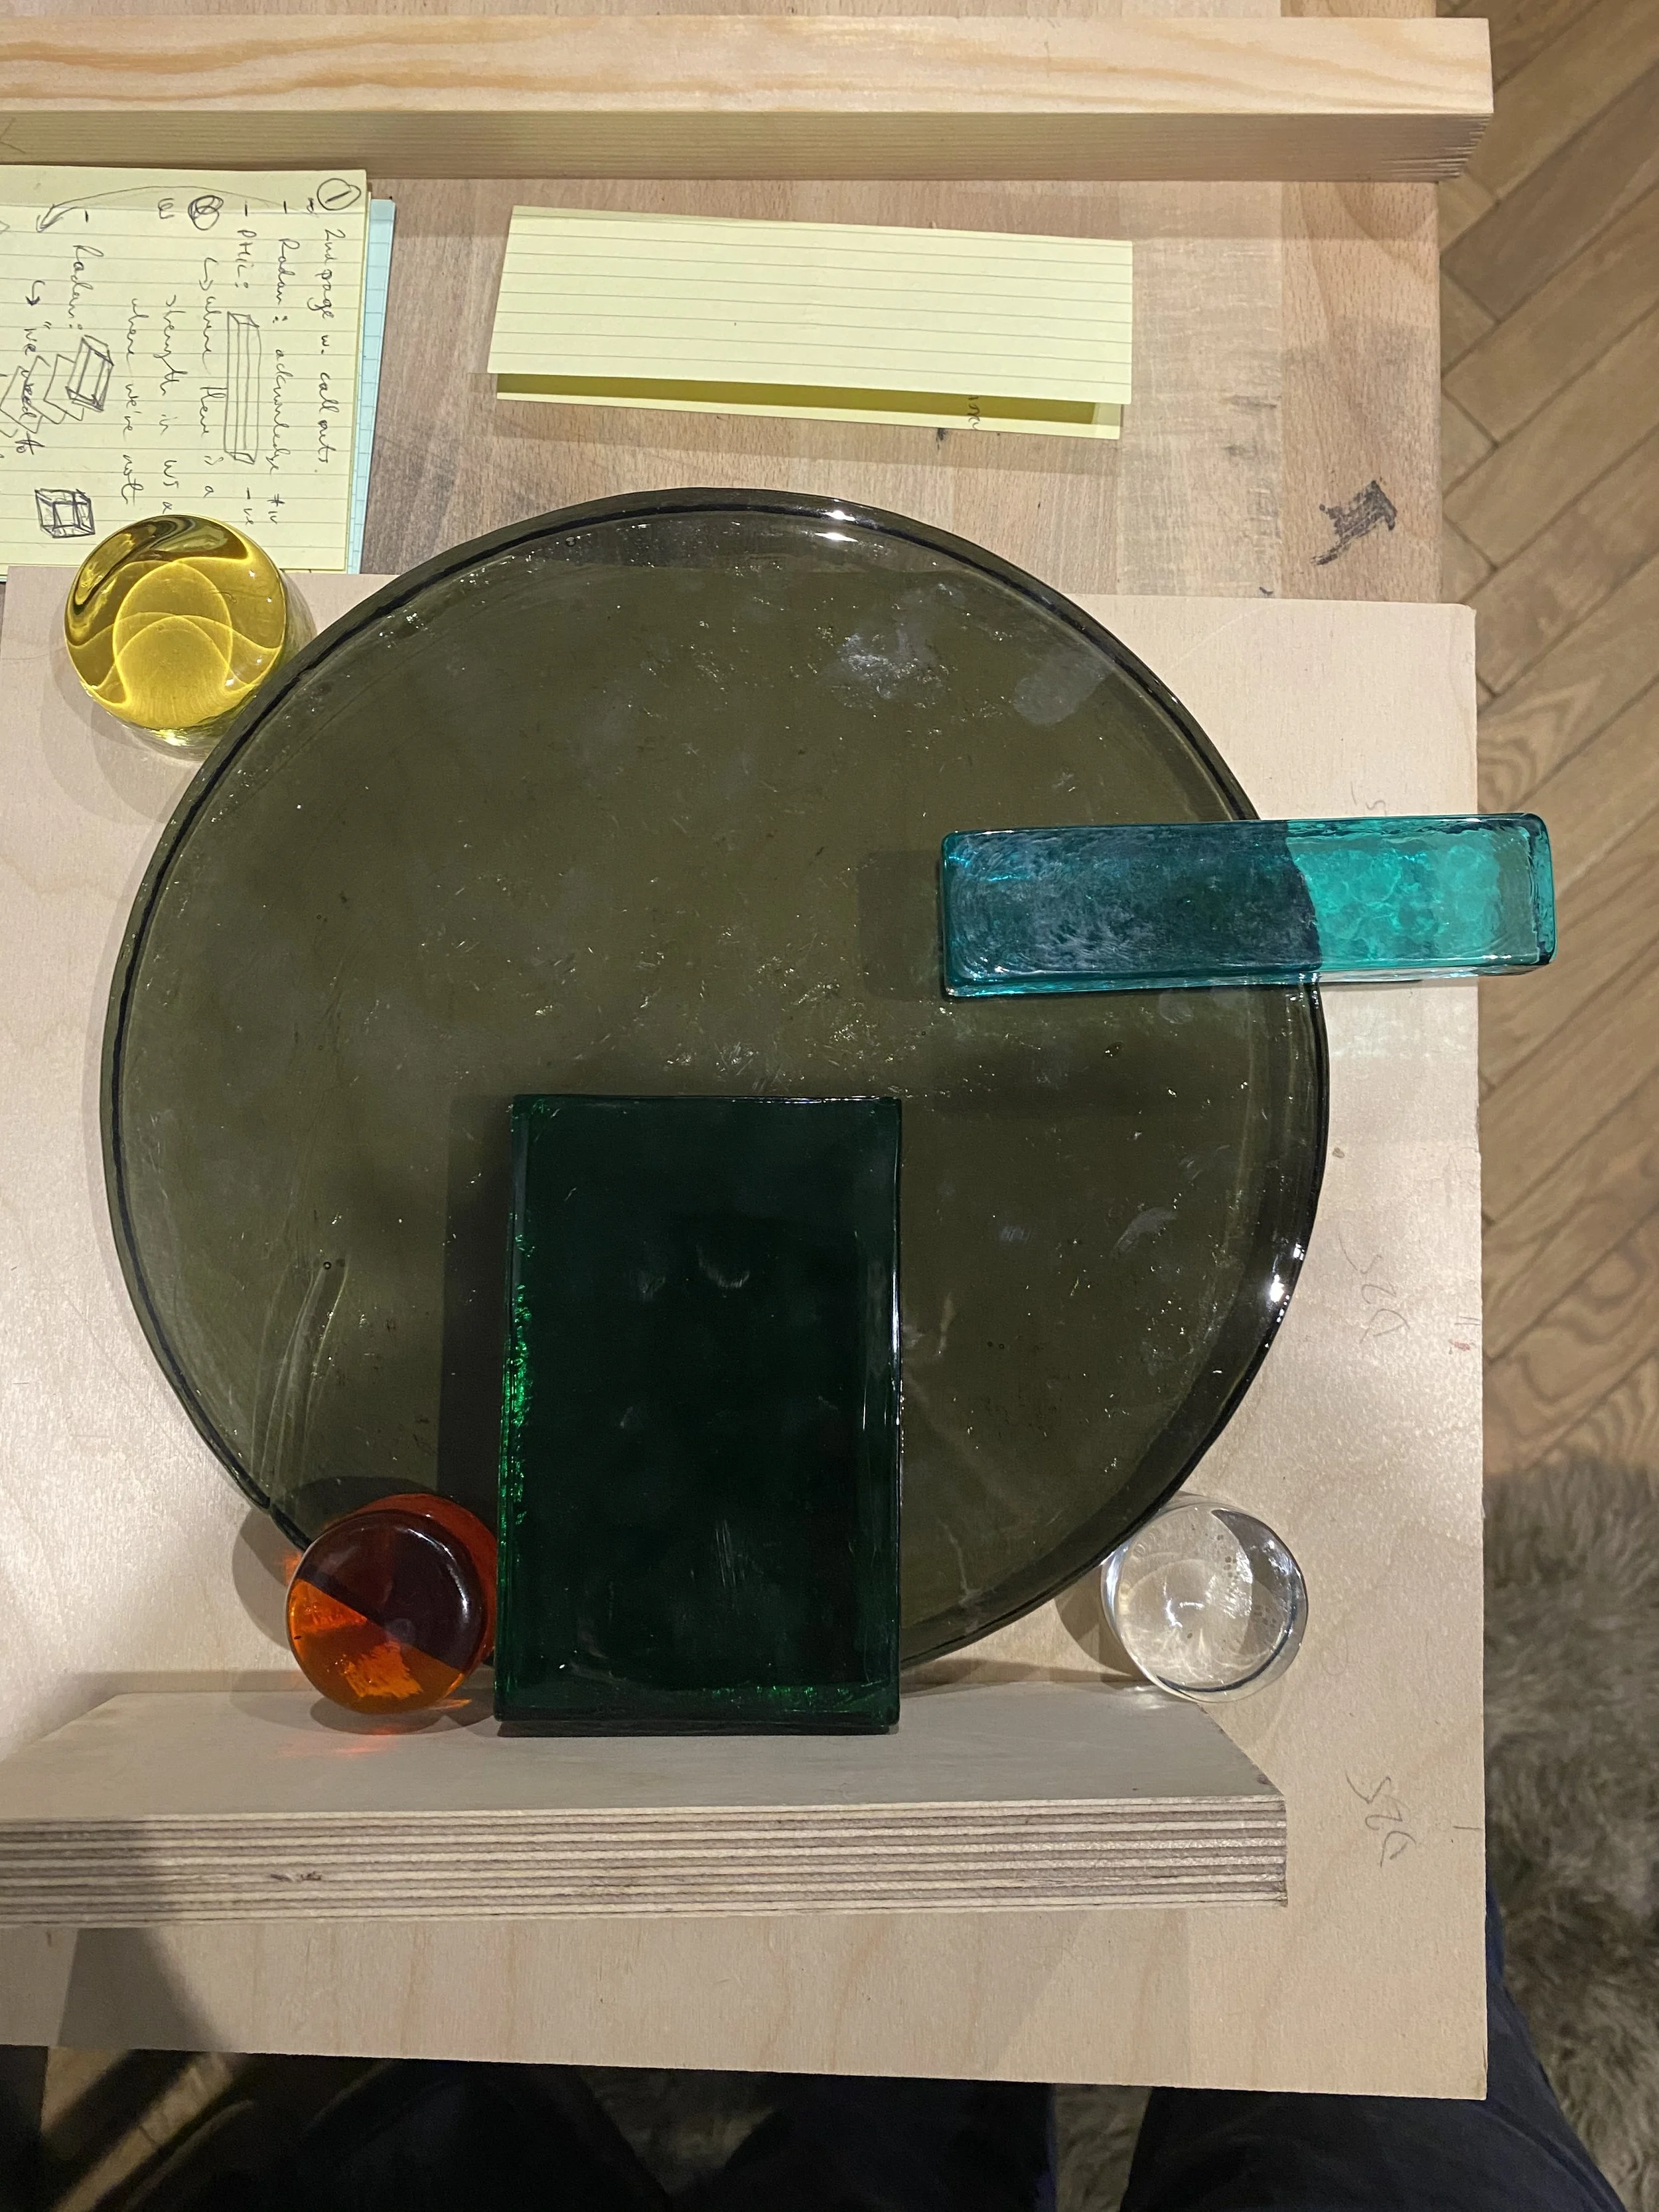
I have two simple but effective means of doing this. The first is to take photos of what you think could work. For smaller pieces, I just hold them together and take a pic. If it’s feasible given the particular design, I might lie it flat.
(On the left, the only time I tried using Blu Tack to temporarily hold pieces. It wasn’t great.)
The second, and admittedly far more precise method, is to use double-sided tape to temporarily fix pieces together. This isn’t foolproof. These glass pieces appear uniform but there are no truly flat surfaces to bond together securely. Don’t leave taped assemblages somewhere an escaping piece call fall and break. Proceed with caution.
As an aside, it’s important to pick the right kind of double-sided tape, one that won’t leave a pile of sticky residue. I use X Fasten tape for woodworking which, as the name suggests, is designed for woodworkers to hold pieces firmly in place while drilling or screwing and then to come away cleanly after. It works. Carpet tape will give a stronger hold but will be a pain to get off after.
Step 3: Choose your glue
A lot depends on how you want to work. I started out using a two part epoxy glue like Araldite but ended up with Loctite Extreme Glue which gets the thumbs up from a few forums I checked. It works for me because after 24 hours it’s stuck but not impossible to separate if, on the odd occasion, I want to change the configuration or the pieces have slipped during curing (see below).
Also, in the case of a change of mind or a false start, the almost totally cured glue is not impossible to remove: a few minutes scraping with a blade will get it all off. I find that after a few more days, it’s almost bombproof.
Lastly, I want an as near invisible join as possible and this comes close.
Step 4 (optional): Make a jig
For smaller pieces, you can usually get away without this. (A jig, by the way, is a frame-like device for ensuring that your pieces are in the correct position when you glue everything together and then stay in that position while the glue cures). For larger pieces and assemblages that use heavier component pieces (perhaps these are the same thing) a wooden jig, or something approximating it, will help. I want my assemblages to stand flat, without rocking, and vertical. A jig will align component pieces correctly to ensure this.
Step 5: Glue up
Ideally, you want to clamp pieces together to ensure a tight join. The challenge is that the pressure exerted by a clamp will encourage the pieces to move (none of these surfaces are truly flat, remember). So tape (masking or even cellotape) can help here. Or your optional jig, of course.
When assembling more than two pieces, I usually break this step into multiple glue ups, ensuring that two pieces are bonded and in the correct alignment before adding the third and so on.
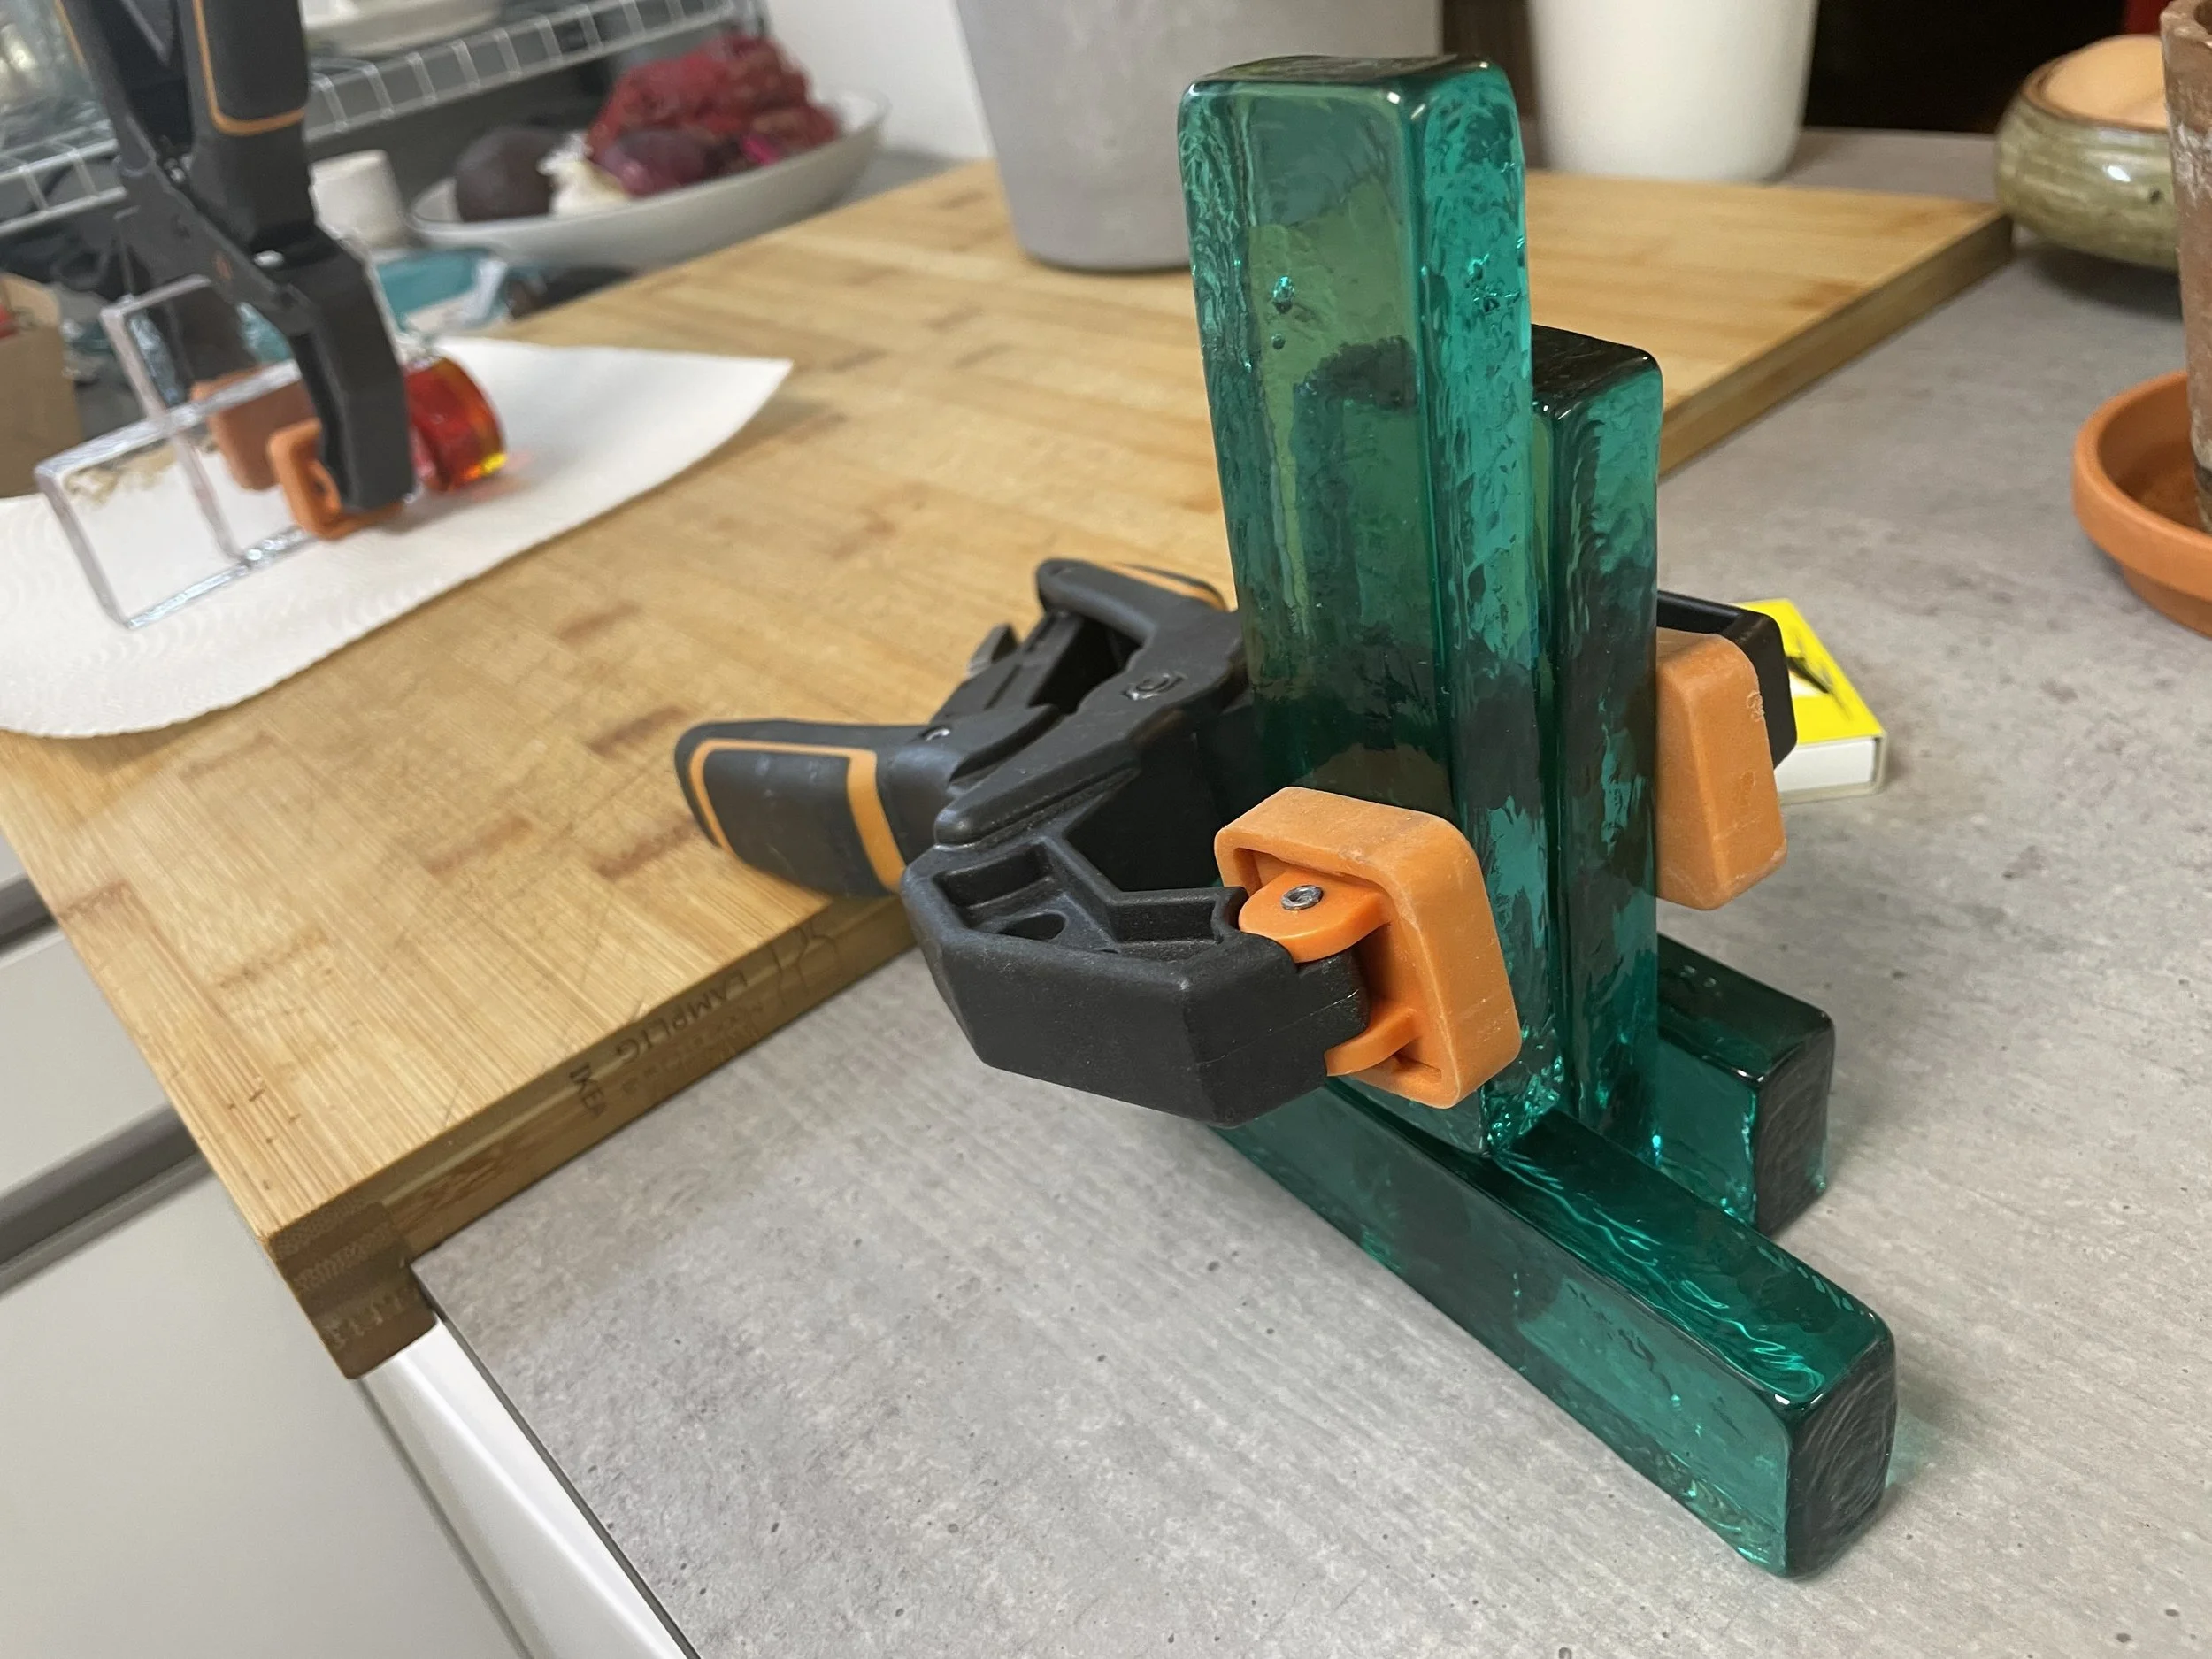
Using a clamp means that the glue will be squeezed very thin and as a result will spread. Add too much glue and it will escape out the joins. I wish there was a magic formula for this but you’ll just have to trial-and-error it. I usually aim for a small pea sized blob (a petit pois?) but your mileage may vary. Sometimes I’ll add this amount as a line of glue rather than a blob, depending on the shape of the components and the area to be joined.
Step 6: Admire your handiwork
That’s about it. Stand back and admire your achievement. Pretentiously located glamour shots, optional.

If you already do something similar, or this has inspired you to get creative, I’d love to see the results. Drop a comment below or tag Decmatic on Instagram.
Alternatively, if you’d like to buy one of mine, some are occasionally available in the Decmatic store.